Make a comfy place for your fur friends
Pets have been a great source of comfort and affection during this time. Whether they’re serving as a cute distraction, entertaining your Zoom call, or just keeping you company, now is the perfect time to show your cat how much you appreciate them. What better way than to make them something comfortable in return?
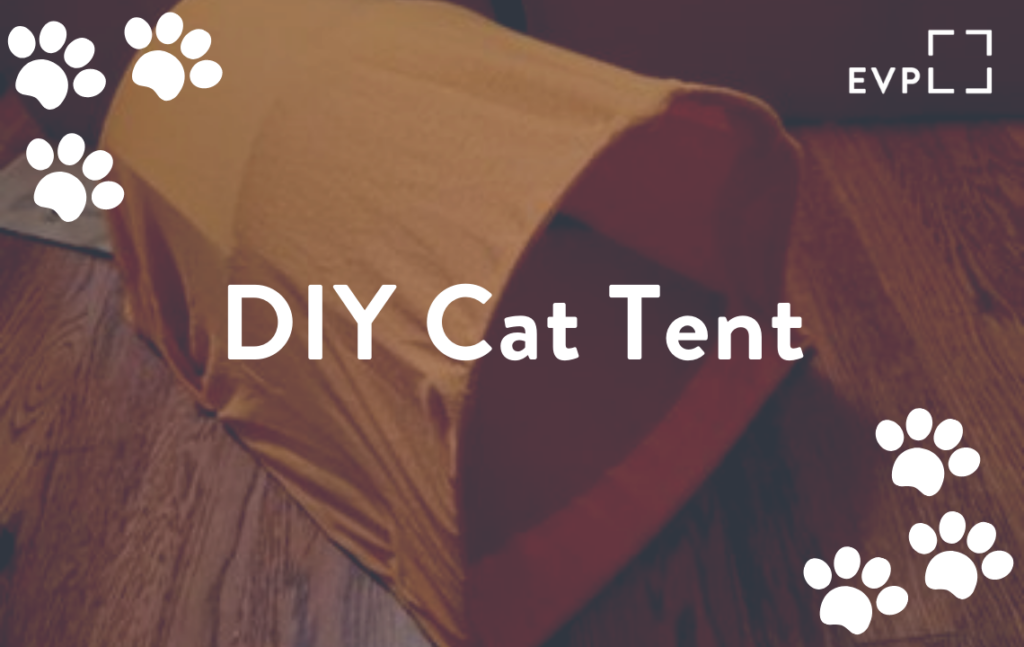
Materials Needed
- Cardboard (approximately 21″x13.5″)
- Wire Coat Hangers (3)
- T-Shirt
- Duct Tape
- Pliers
- Box Cutter (or Scissors)
- Needle and Thread (or Safety Pins)
- Permanent Marker
- Chopsticks, Pencils, or Then Dowels (Optional)
Instructions
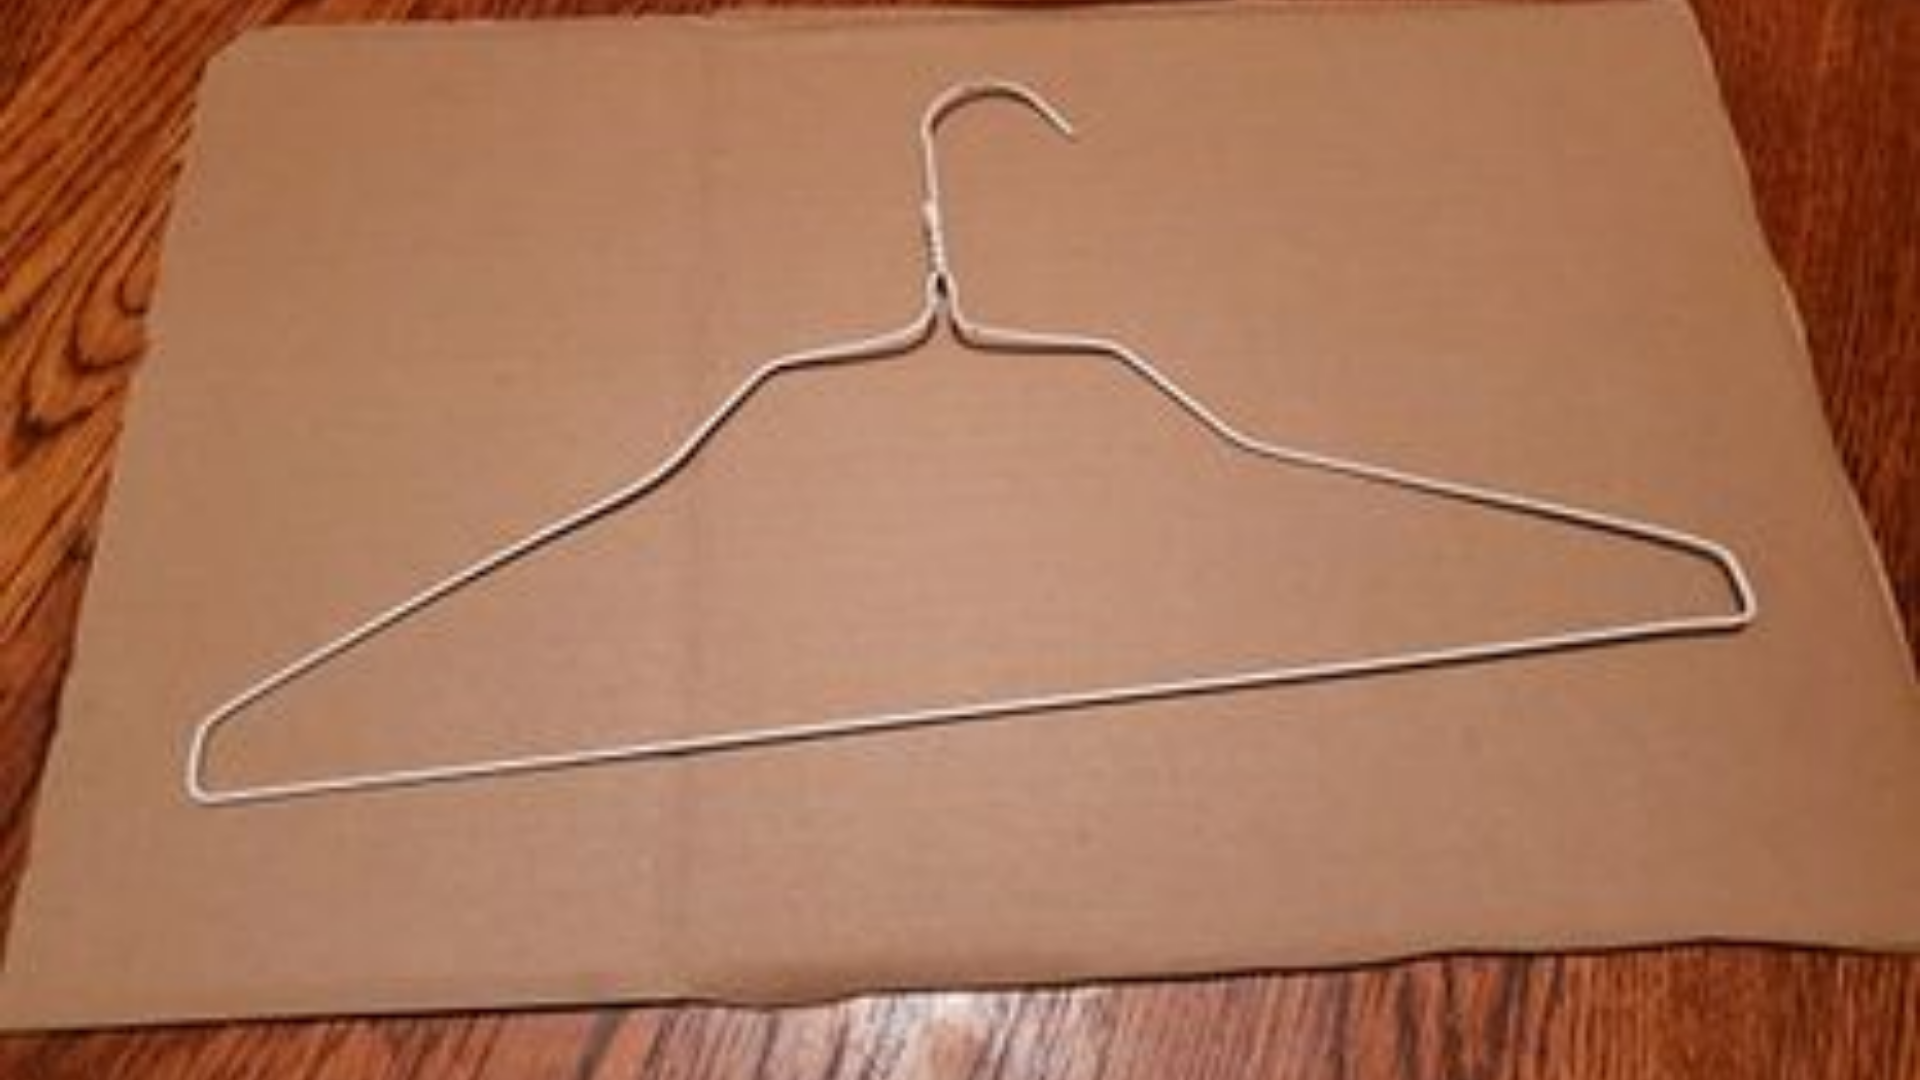
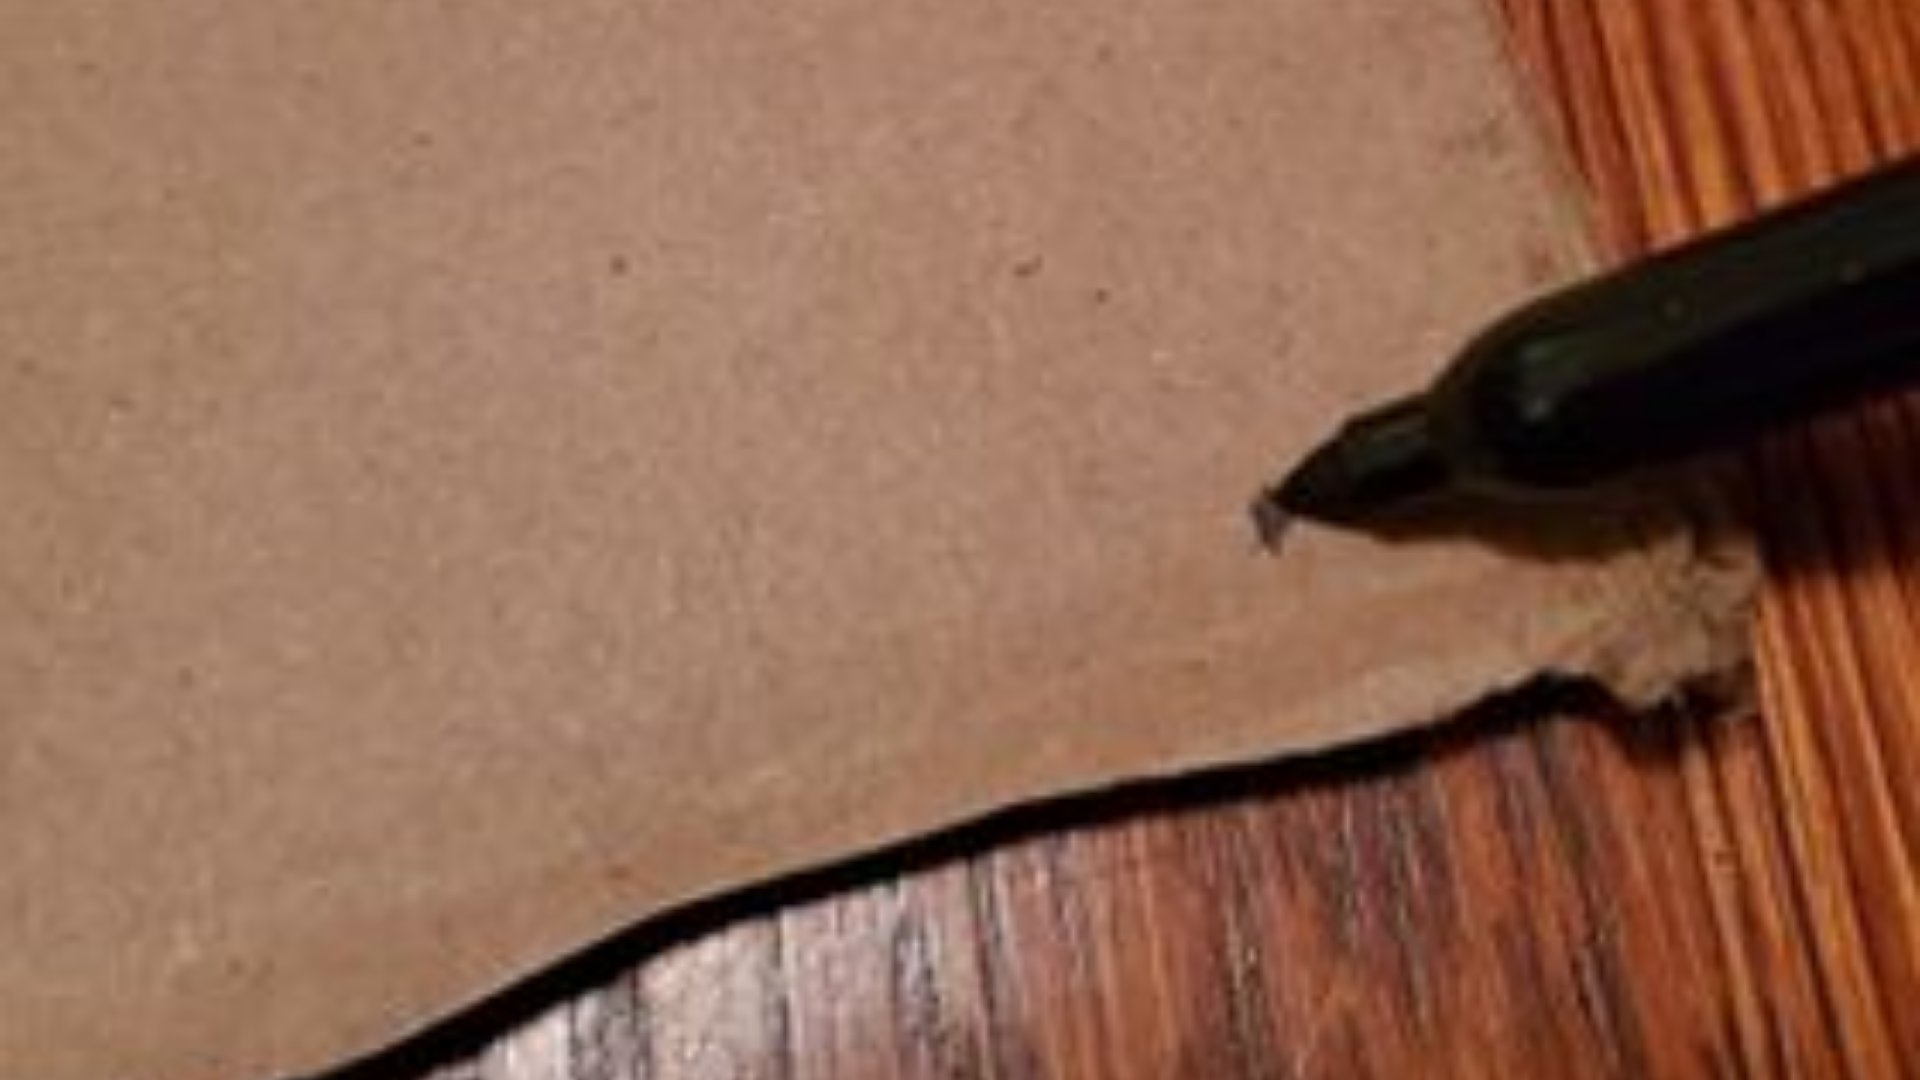
- Cut a rectangle approximately 21″x13.5″ from a cardboard box. Feel free to adjust the size if you would like your cat to have more or less room (this DIY is not very picky).
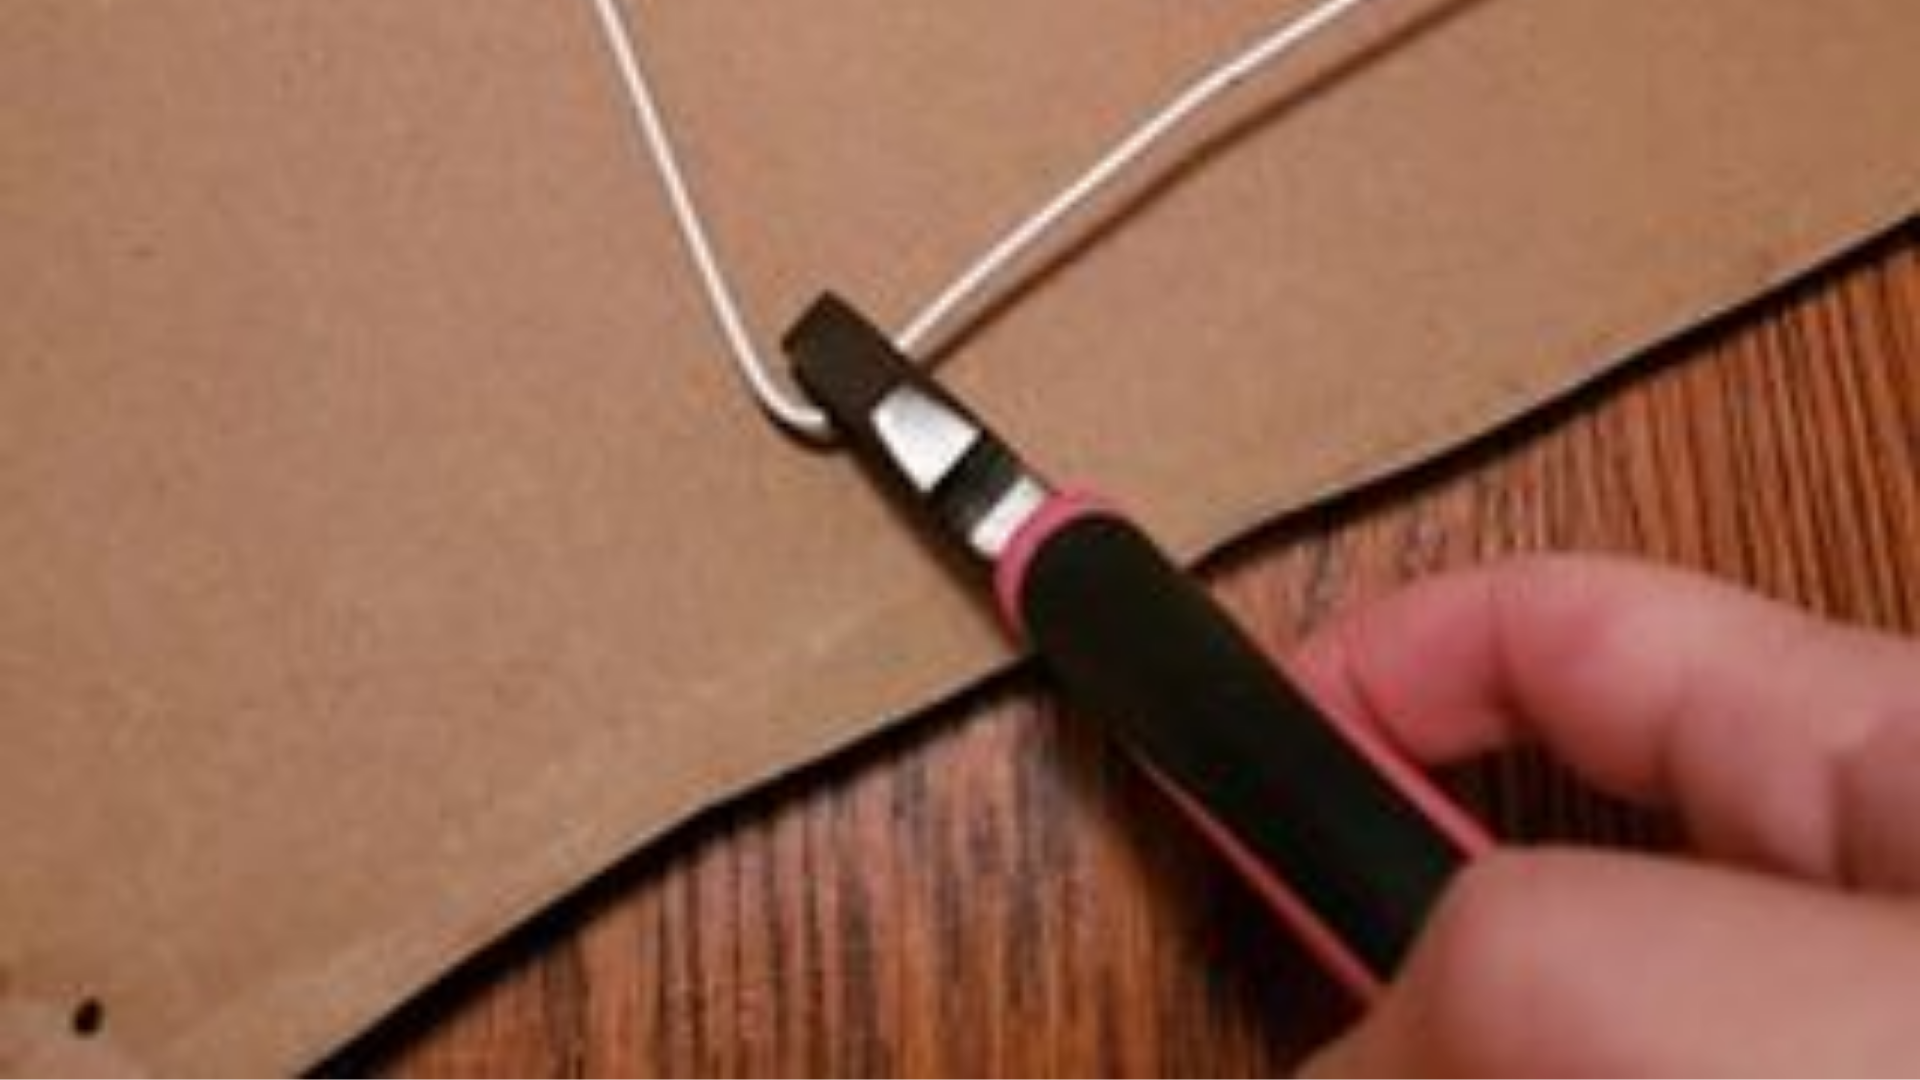
- Using your pliers, untwist and straighten the three coat hangers.
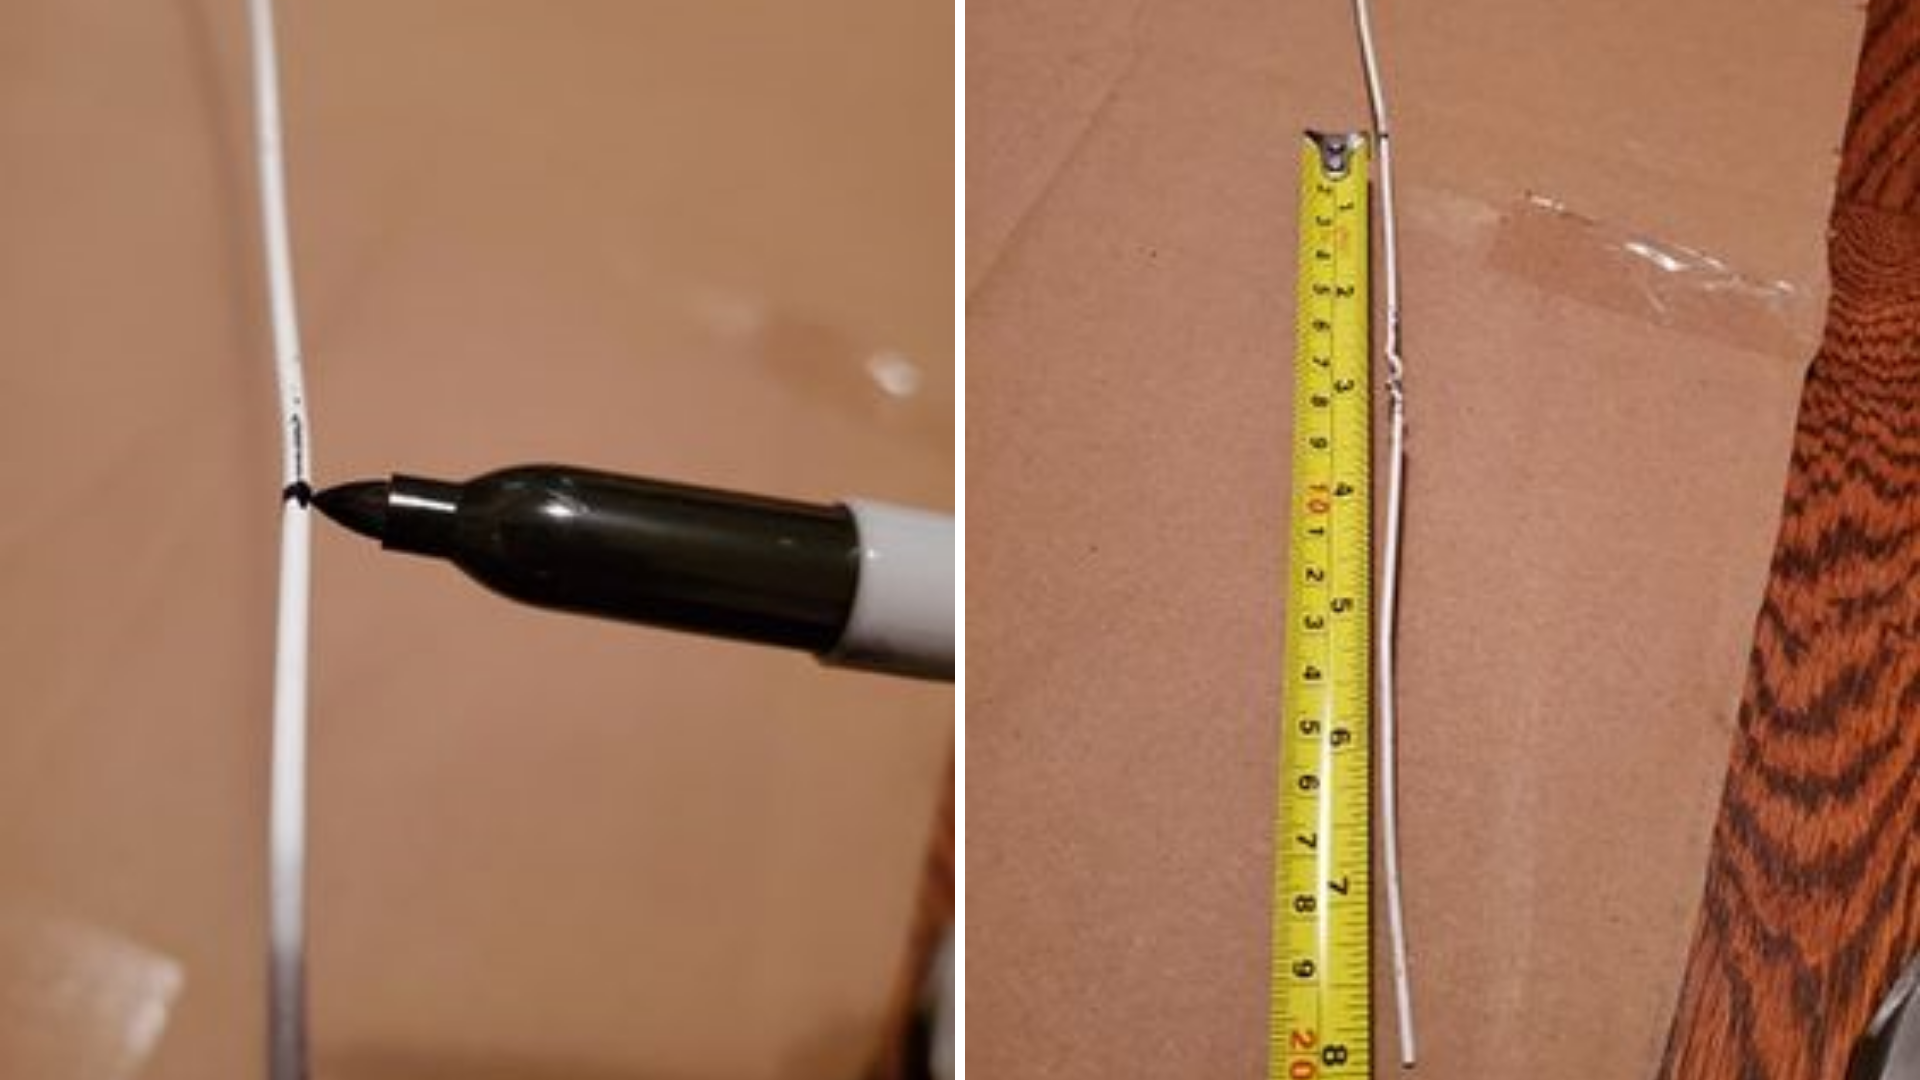
- Pull the two ends of each coat hanger to form a “U” shape to determine your preferred height for the tent. Mark where you’d like the wire to meet the cardboard with a permanent marker and measure/mark the equivalent height on both ends of each wire.
- Using your pliers, twist your wires where you’ve marked them into a 90-degree angle. Make sure the ends are facing toward each other, forming a “D” shape.
- Mark the cardboard about 1 cm. to 1 in. inside each corner with your permanent marker. Draw similar marks halfway between these corner marks on the long sides of your cardboard.
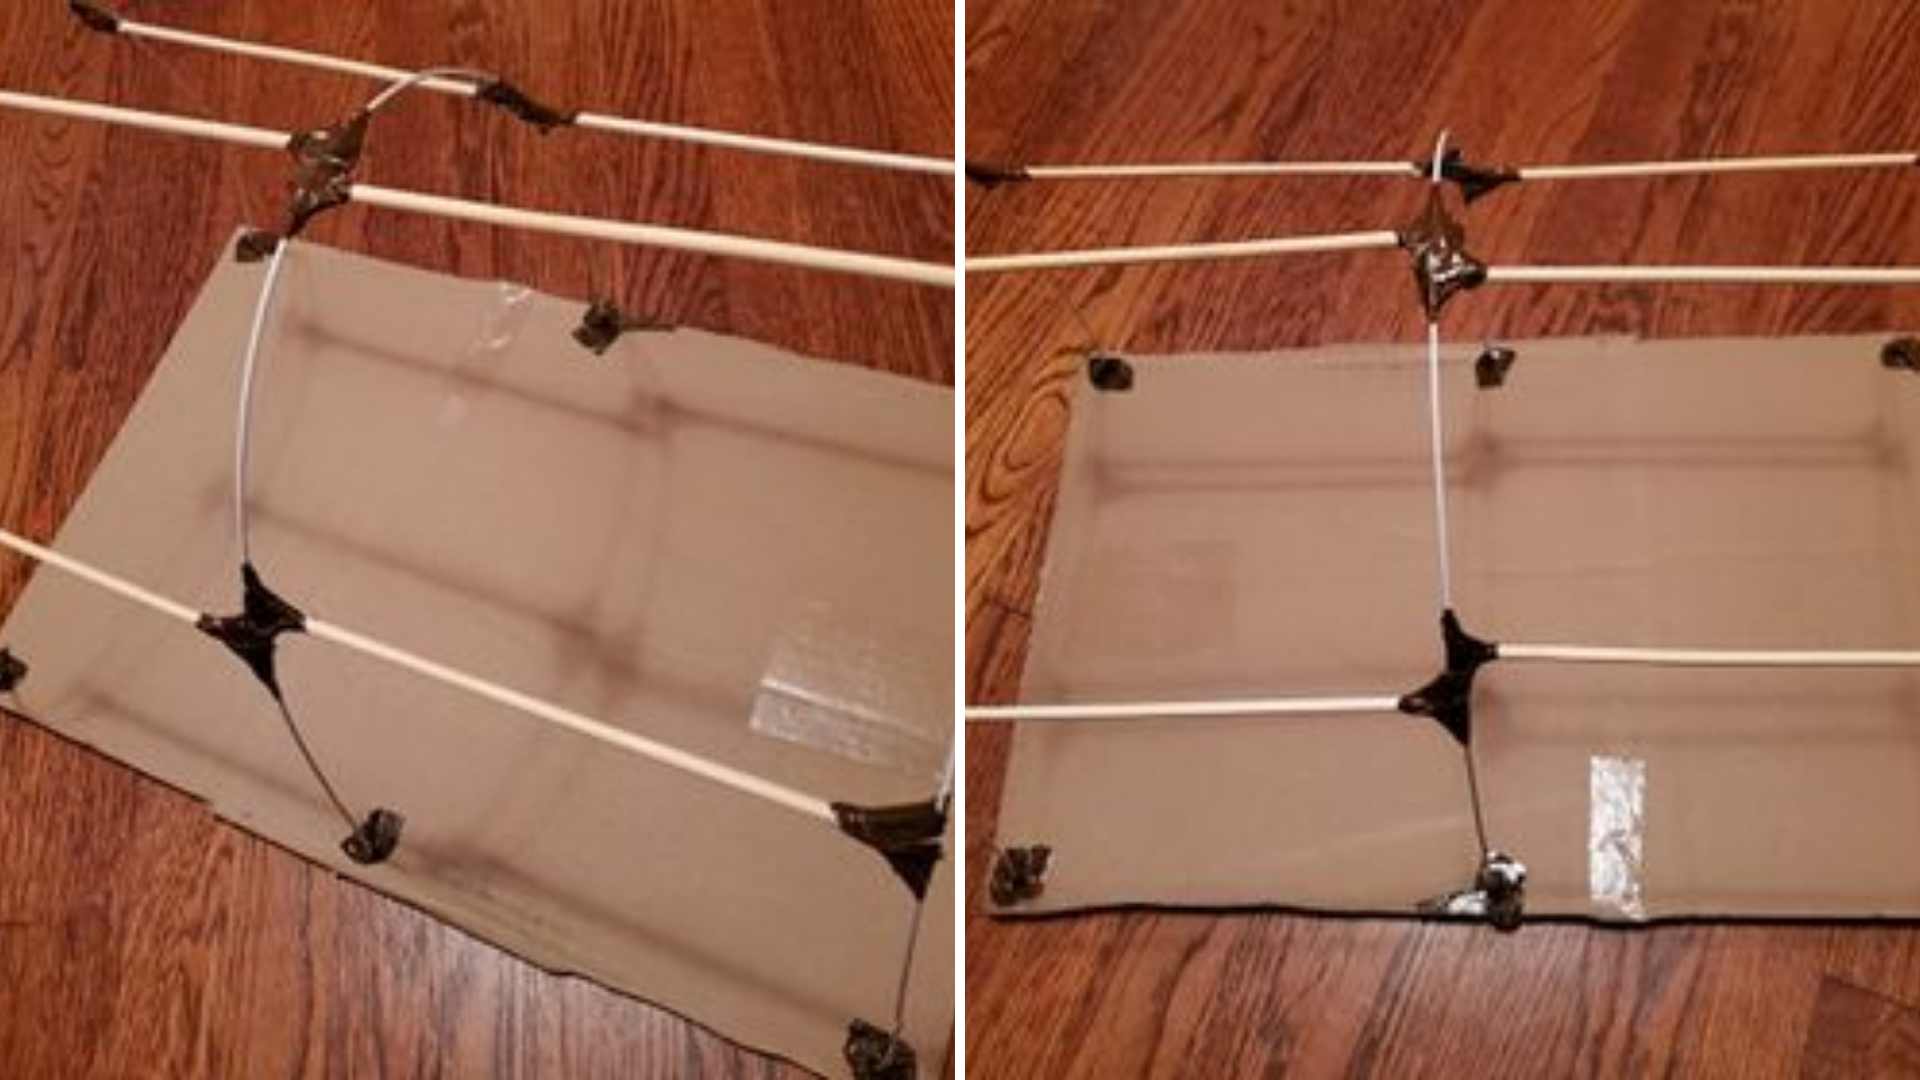
- Using a pen, pencil, or awl, poke holes in your cardboard marks. Push the ends of each wire through, so that there is an arch along both of the shorter ends of the cardboard and one in the middle.
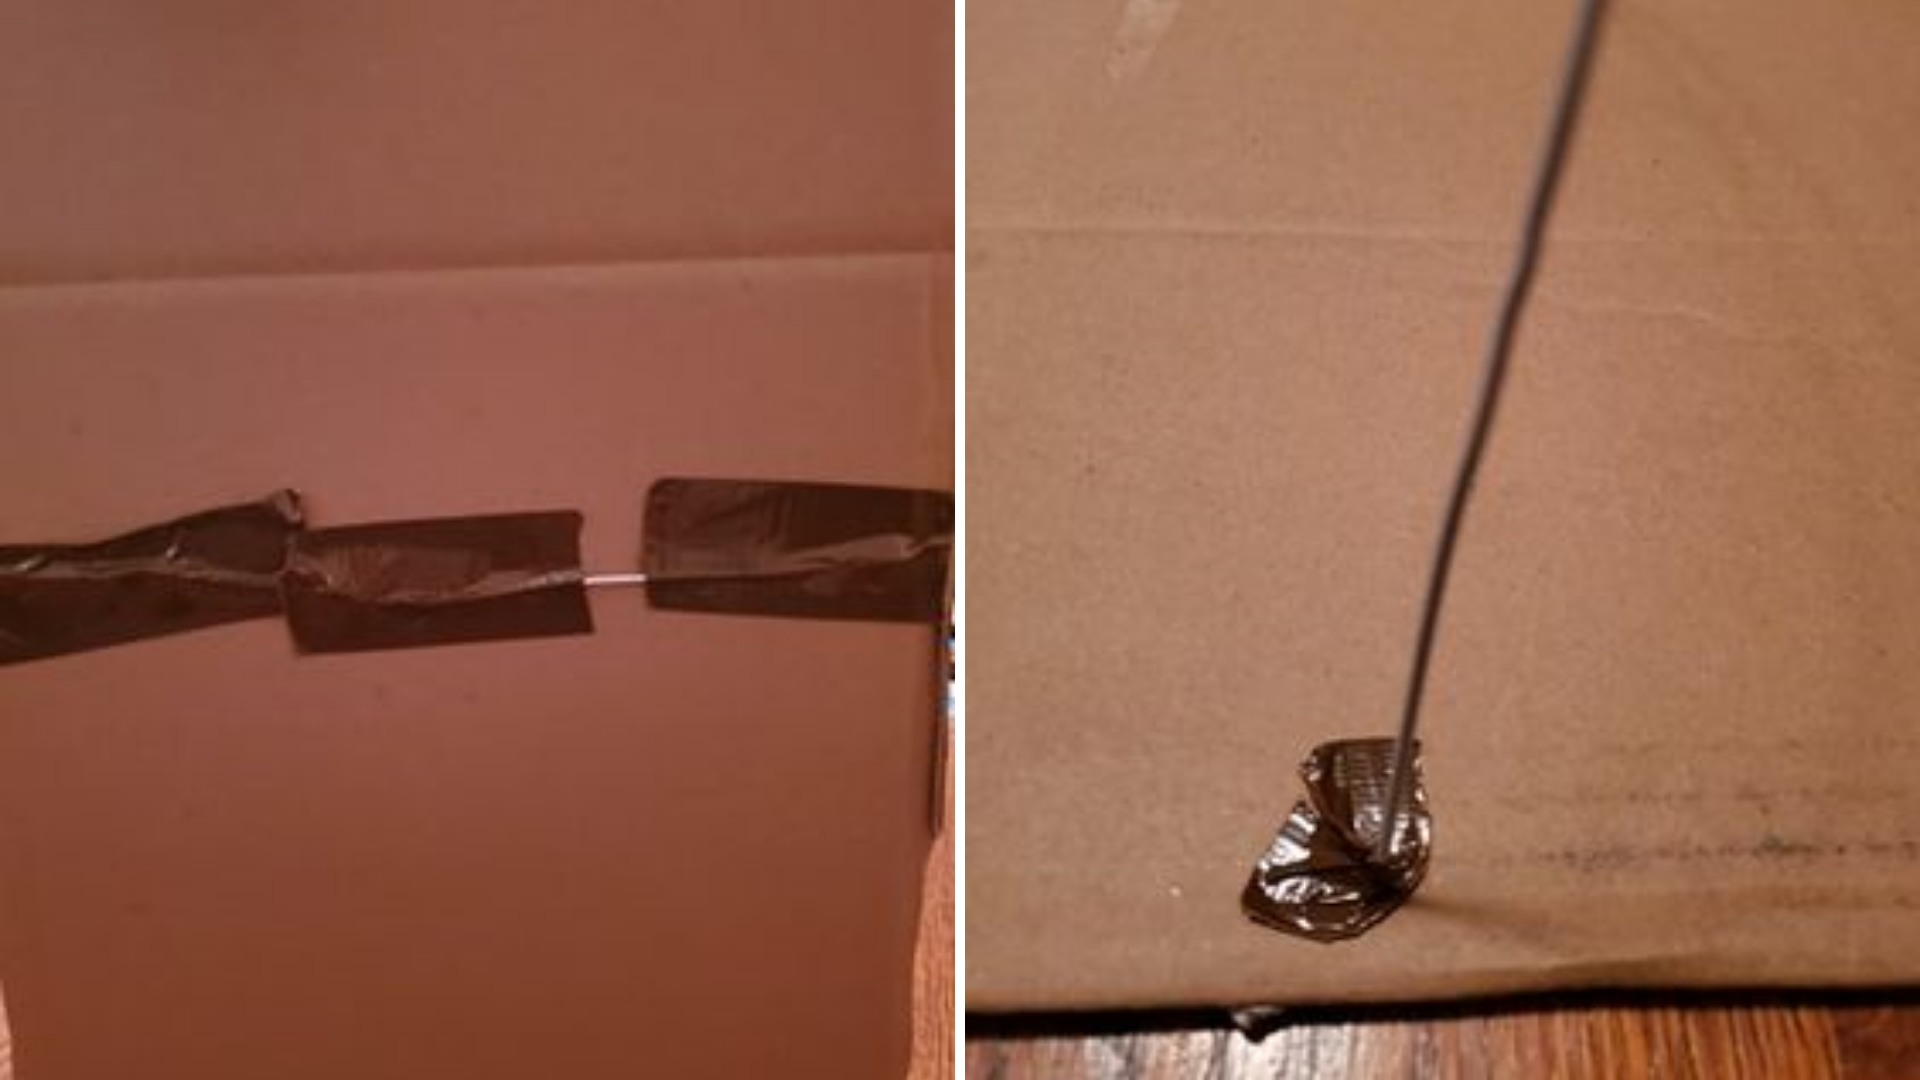
- Secure the wire excess below the cardboard with duct tape. This may take some maneuvering.
- (Optional) Secure chopsticks, pencils, or thin dowels between the arches to provide extra support. Secure with duct tape.
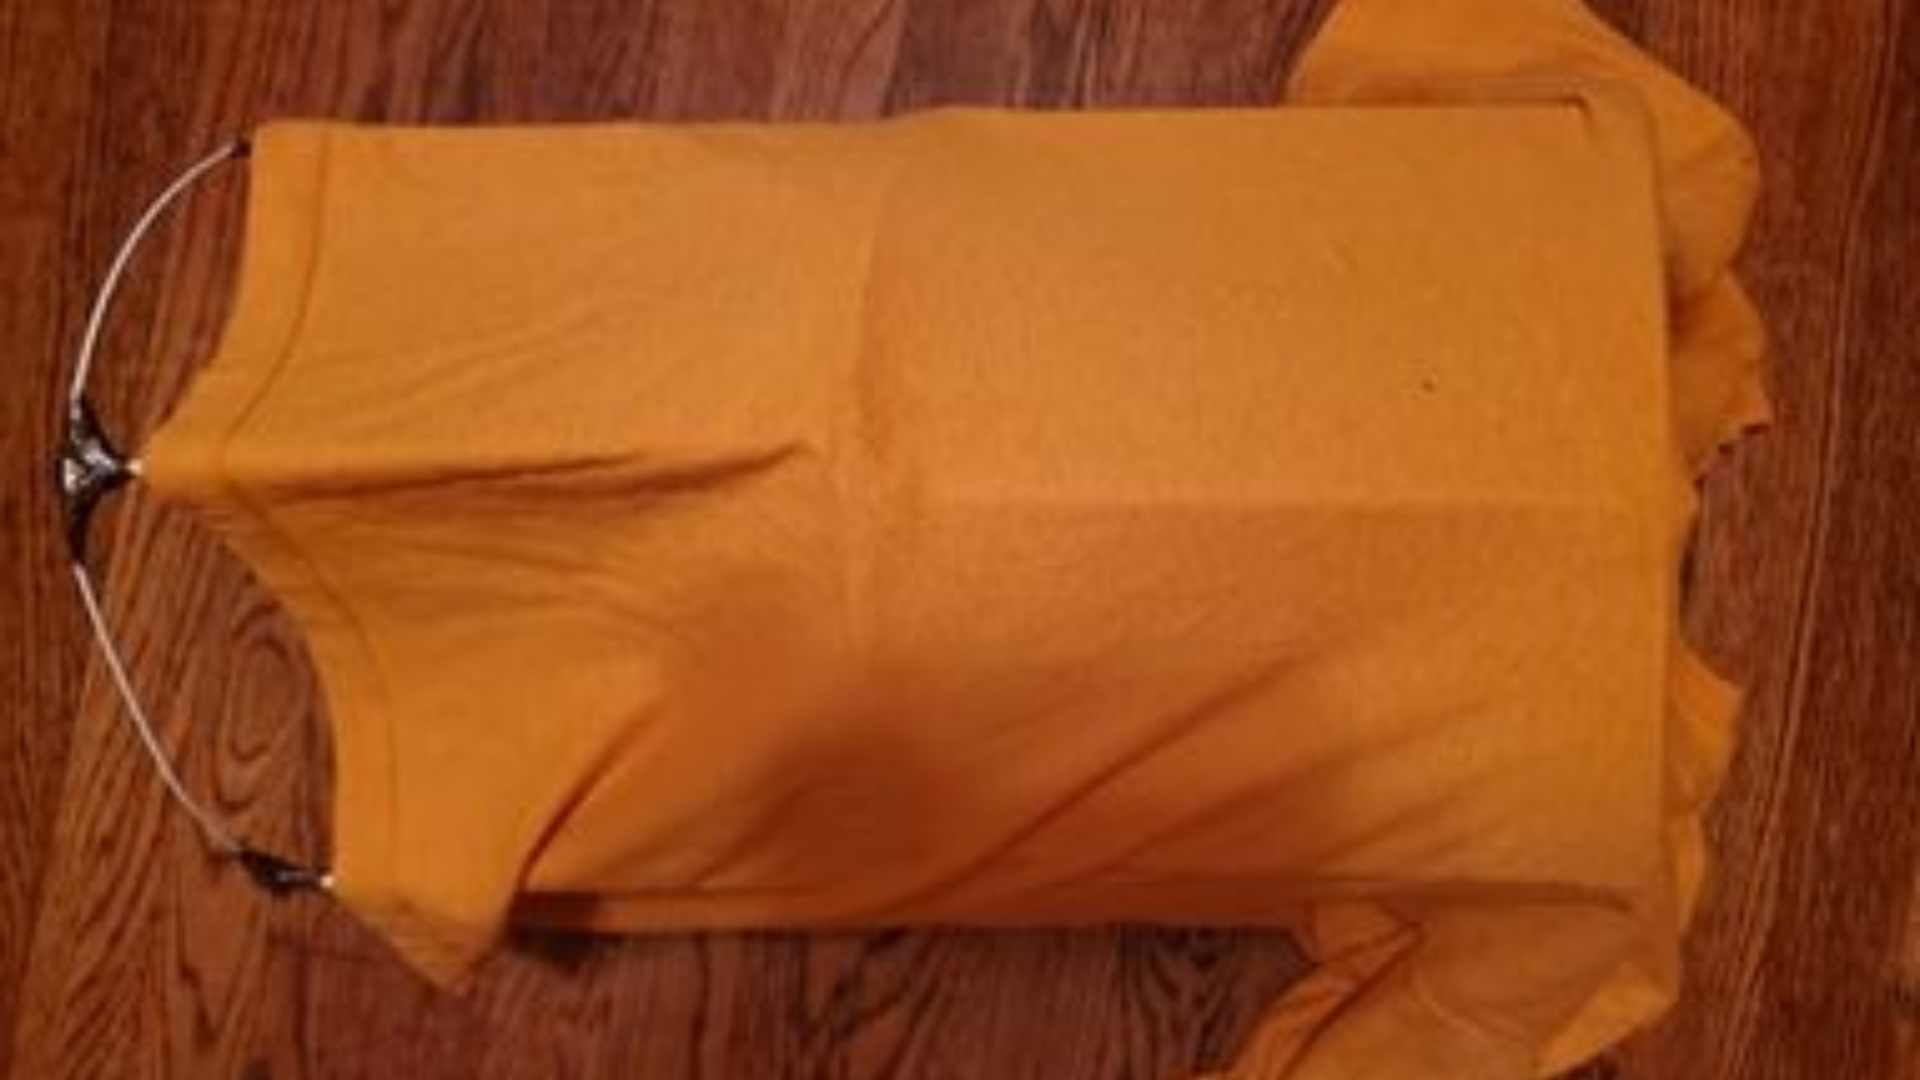
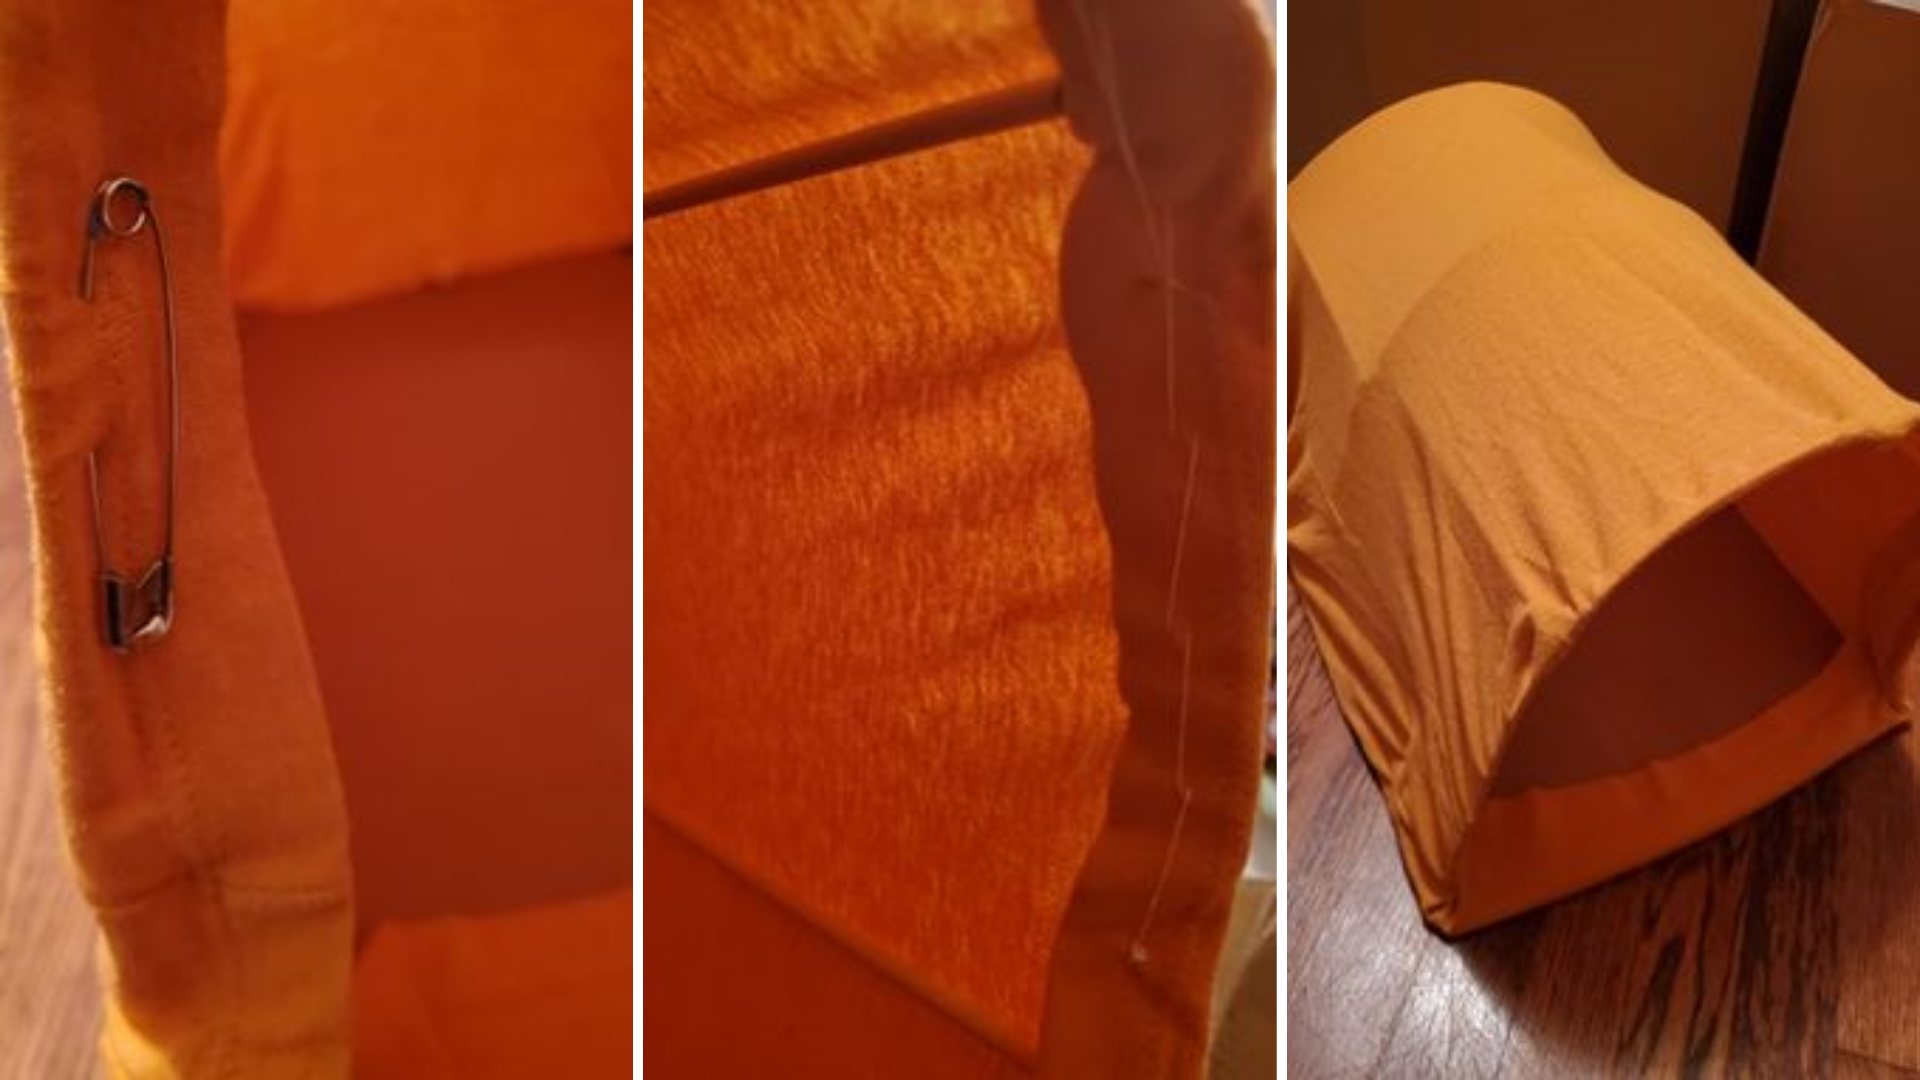
- Gently pull the t-shirt over the entire framework. For a cleaner look, align any graphics or logos with the underside of the cardboard.
- Choose your own adventure:
- Securely tuck sleeves and neck hole under cardboard for a quick finish
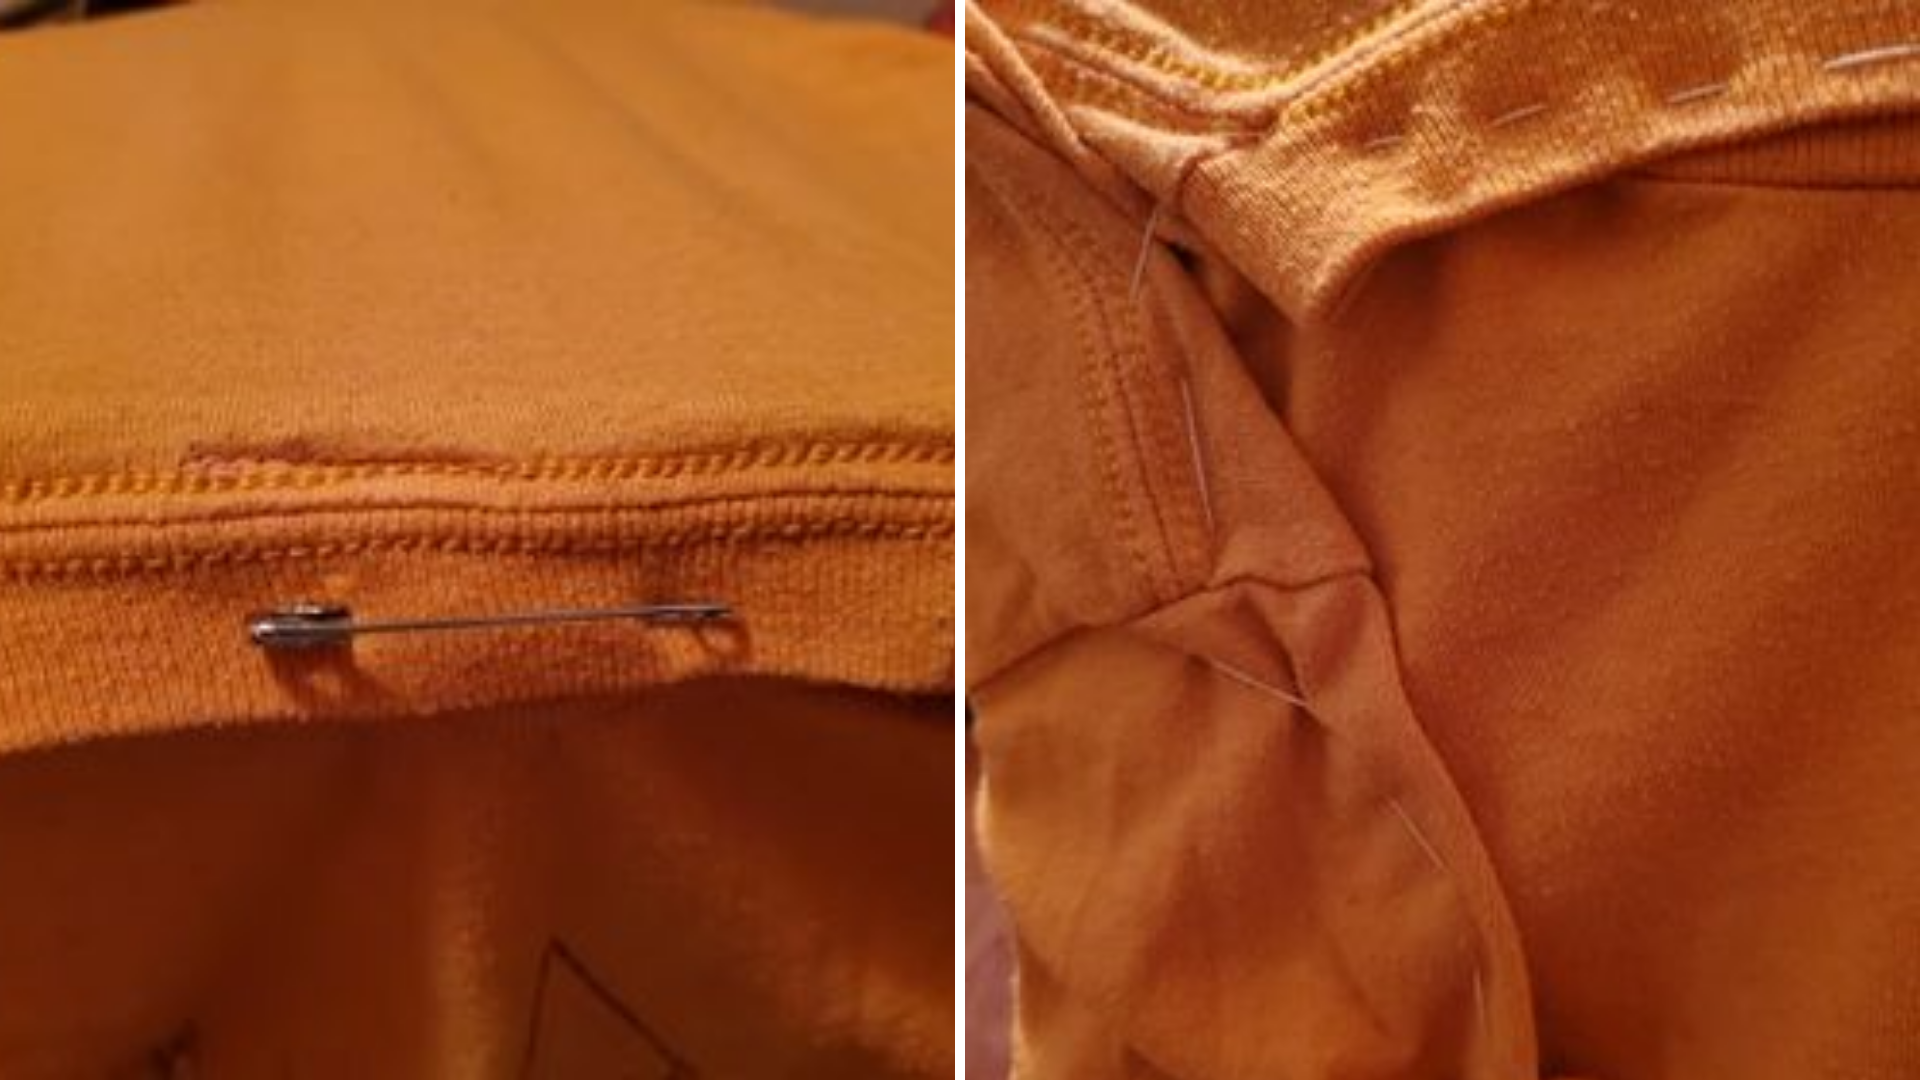
- Safety pin sleeves and neck hole under cardboard for a stronger (but still relatively quick) finish
- Loosely sew neck hole shut, sew sleeves to the underside of the tent for a strong, flat work
- Using safety pins or a needle and thread, tuck and secure the t-shirt hem inside the tent opening.
- Take two pieces of fabric (roughly the same size as the cardboard) and sew around the perimeter, leaving a small gap. Turn inside out and fill with pillow stuffing or fabric scraps. Sew closed. Place inside the tent as a cushion.
Another fun option to take is to decorate or personalize your tent. For example, you can add your pet’s name on the side, hang strings from the top, or line the inside with their favorite toys. I added a felt “flag” to mine to make it look like a mailbox.
Try to have fun with it- your cat will thank you!
We’d love to see your creations, so please send your pictures to us on Facebook (Evansville Vanderburgh Public Library), Twitter (@EVPLibrary), or Instagram (@evplibrary)!

EVPL Staff
With 8 locations throughout Vanderburgh County, EVPL is ready to discover, explore, and connect WITH you! We encourage you to uncover new things, revisit old favorites, and to engage with us along the way.
200 SE Martin Luther King Jr. Blvd
Evansville, Indiana 47713
Administration: ceo@evpl.org
Card & Account: circulation@evpl.org
Feedback & Ideas: marketing@evpl.org


